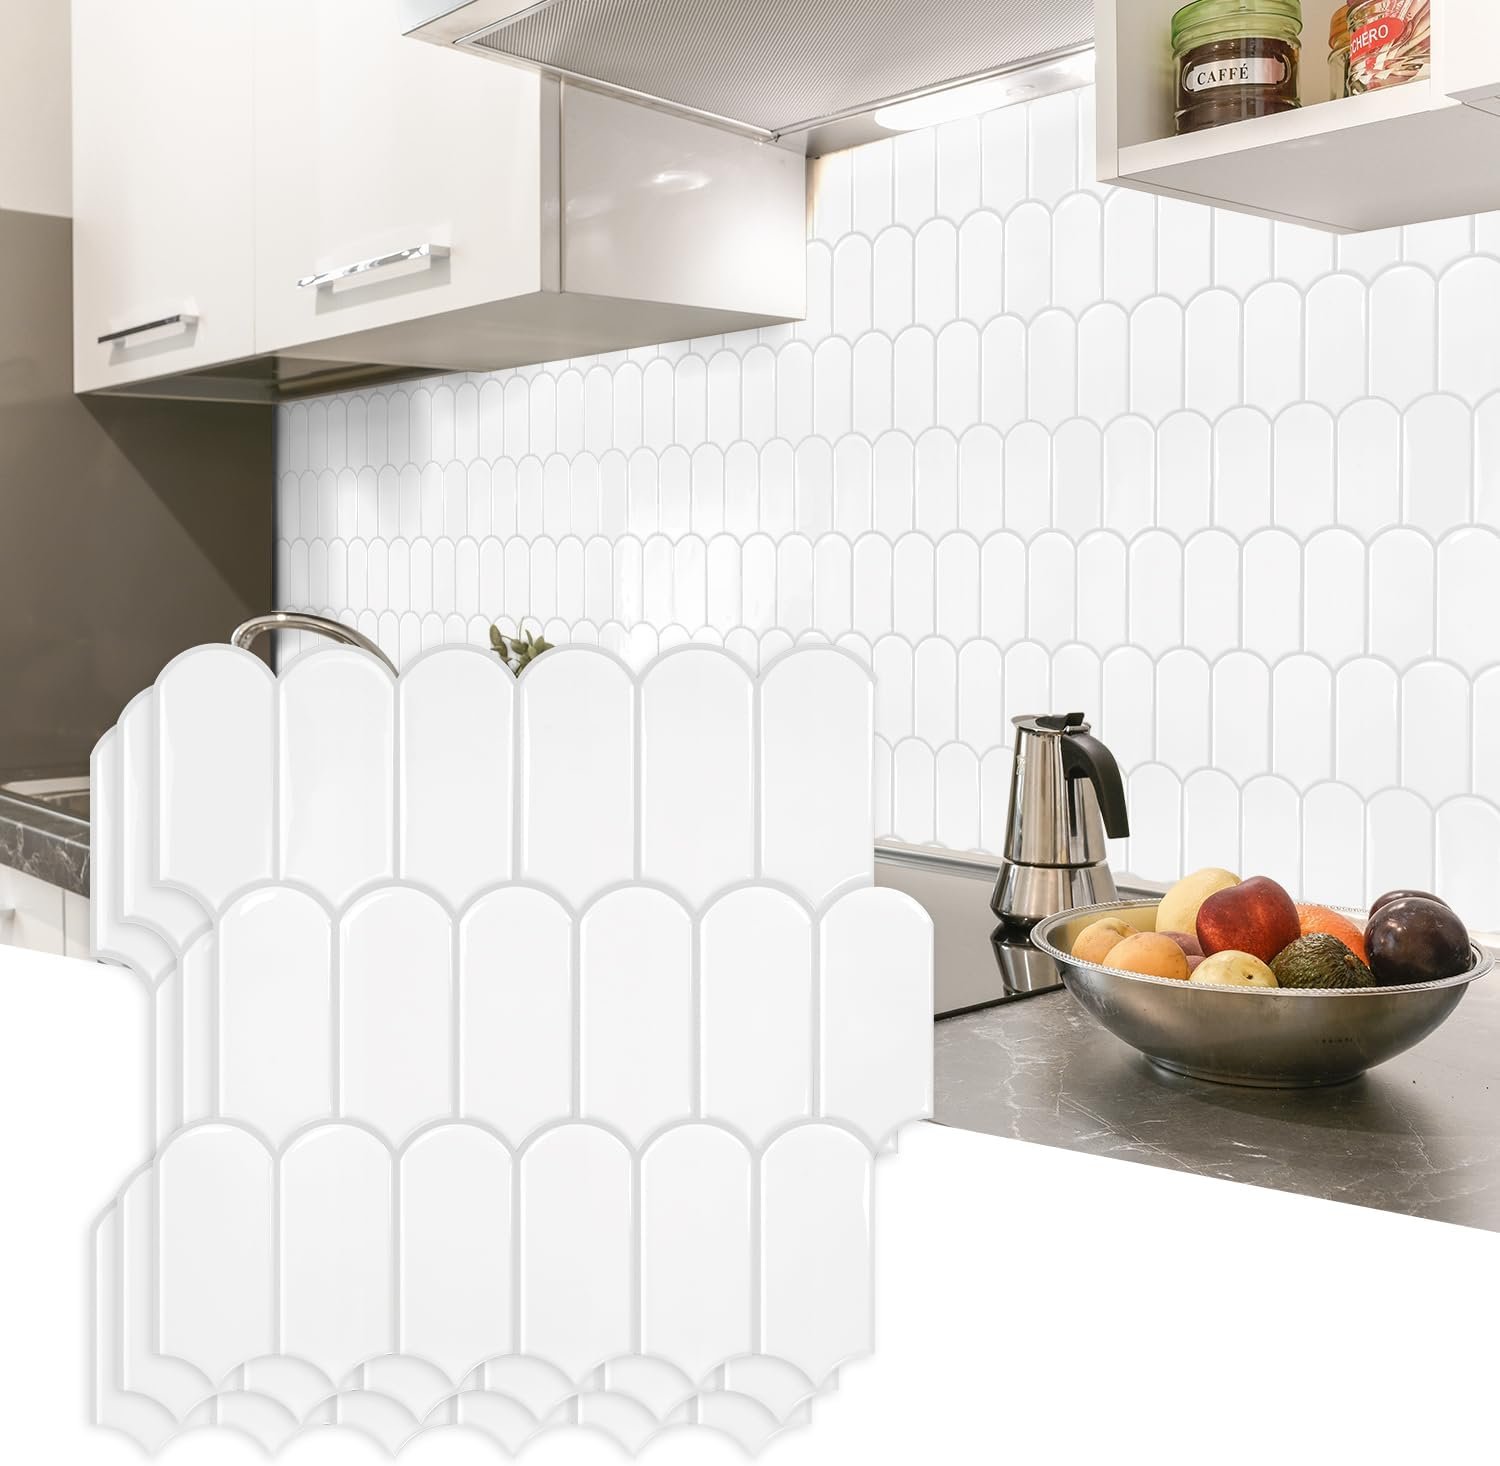
Are you looking for a cost-effective and stylish way to refresh your kitchen or bathroom? Peel-and-stick backsplash tiles provide an effortless solution to transform your space without the hassle of traditional tile installation. These versatile tiles allow you to achieve a sleek and modern look with minimal effort, making them an excellent choice for renters, homeowners, or anyone seeking a quick upgrade.
Why Choose Peel-and-Stick Backsplash Tiles?
Ease of Installation:
Peel-and-stick tiles eliminate the need for messy grout, adhesive, or specialized tools. Simply peel off the backing and press the tiles onto a clean, dry surface.Budget-Friendly:
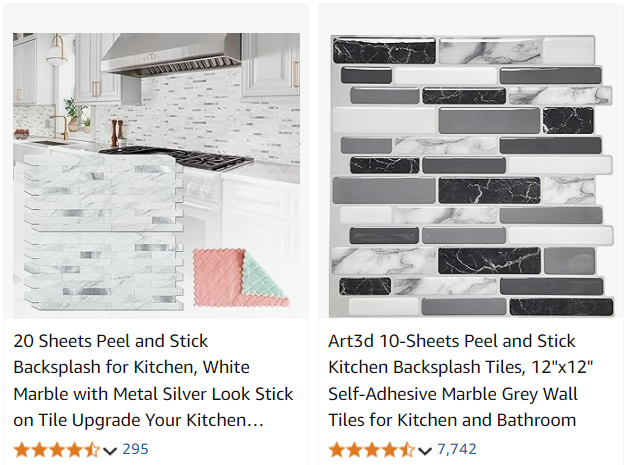
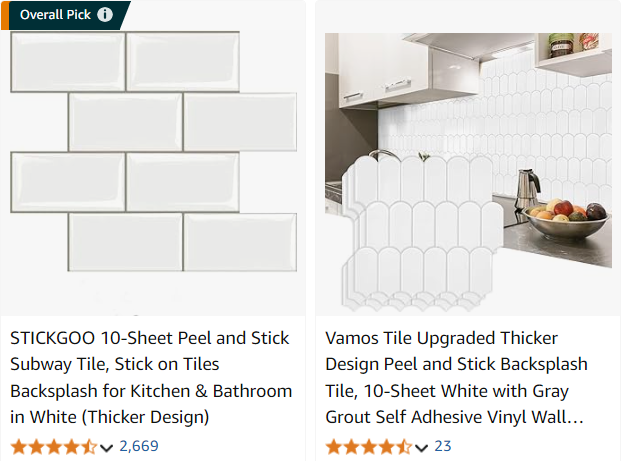
Achieve a designer look without breaking the bank. These tiles mimic the appearance of high-end materials like ceramic, glass, or marble at a fraction of the cost.Wide Variety of Styles:
From classic subway tiles to intricate mosaic patterns, peel-and-stick tiles are available in countless designs, ensuring you can find the perfect match for your decor.Durability and Maintenance:
Made with water-resistant and heat-resistant materials, these tiles are designed to withstand kitchen and bathroom conditions. Cleaning is as simple as wiping with a damp cloth.Reversible:
Ideal for renters or temporary projects, peel-and-stick tiles are easy to remove without damaging walls, allowing for flexibility in design choices.
Don’t wait! Get Best Deals NOW!
Are you looking for the best prices on the products you love? Then you don’t want to miss this opportunity. . Hurry, these deals won’t last long. DON’T WAIT! GET BEST DEALS NOW!
How to Install Peel-and-Stick Backsplash Tiles
Prepare the Surface:
Clean the area thoroughly to remove grease, dust, or debris. Let the surface dry completely before starting.Measure and Plan:
Measure your wall space and plan the layout. Mark a level line as a guide to ensure your tiles are aligned.Peel and Stick:
Begin peeling the backing from the first tile and press it firmly onto the wall. Smooth out air bubbles with your hand or a soft cloth.Trim for Fit:
Use a utility knife or scissors to cut tiles to fit around outlets, corners, or edges.Enjoy Your New Look:
Step back and admire your revamped space! The transformation is immediate and impactful.
Disclosure: The links provided above are affiliated. If you make a purchase through these links, we may receive a small commission at no additional cost to you. This helps support our website and allows us to continue providing valuable content on outdoor adventures.
Where to Use Peel-and-Stick Backsplash Tiles
- Kitchens: Perfect for sprucing up areas behind countertops, stoves, or sinks.
- Bathrooms: Create a stylish backsplash behind vanities or bathtubs.
- Accent Walls: Add texture and interest to living rooms, bedrooms, or laundry rooms.
- Temporary Spaces: Ideal for dorm rooms, rental properties, or RVs.

Comments are closed